MOBILE VERSION [HERE]
** For optimal results, install screen protector right before bed to allot enough dry time!
|
|
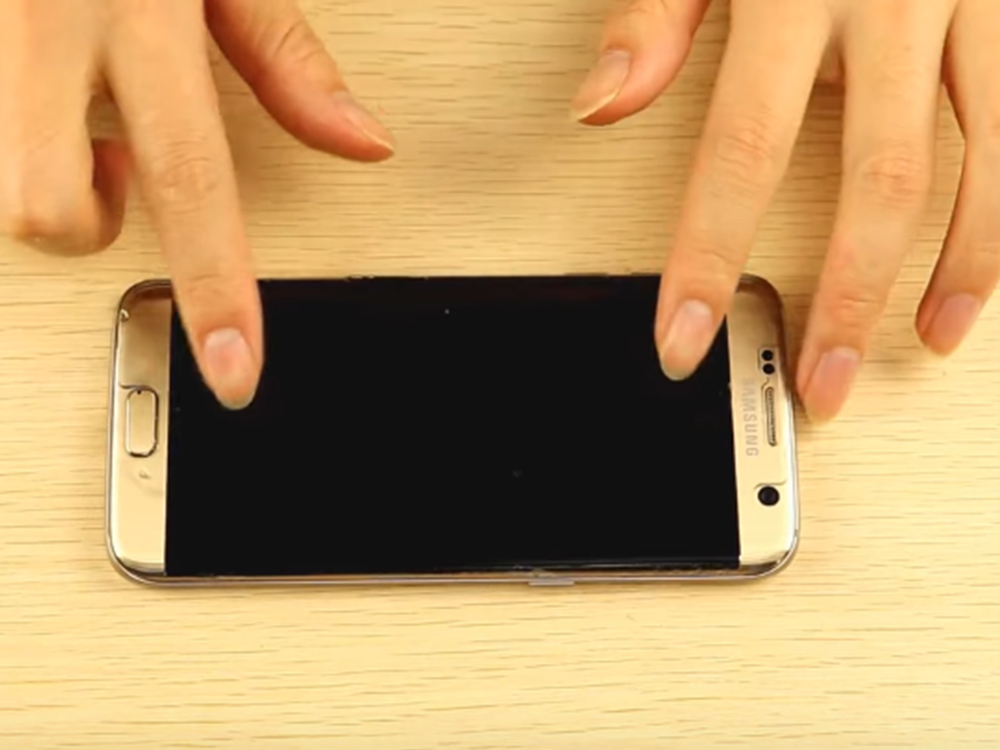
STEP 1: Wash hands to allow for a smooth and sanitary installation. Total installation will take up to 30 minutes and a 6-8 hour wait time.
HELPFUL TIPS: |
|
|
|
|
|
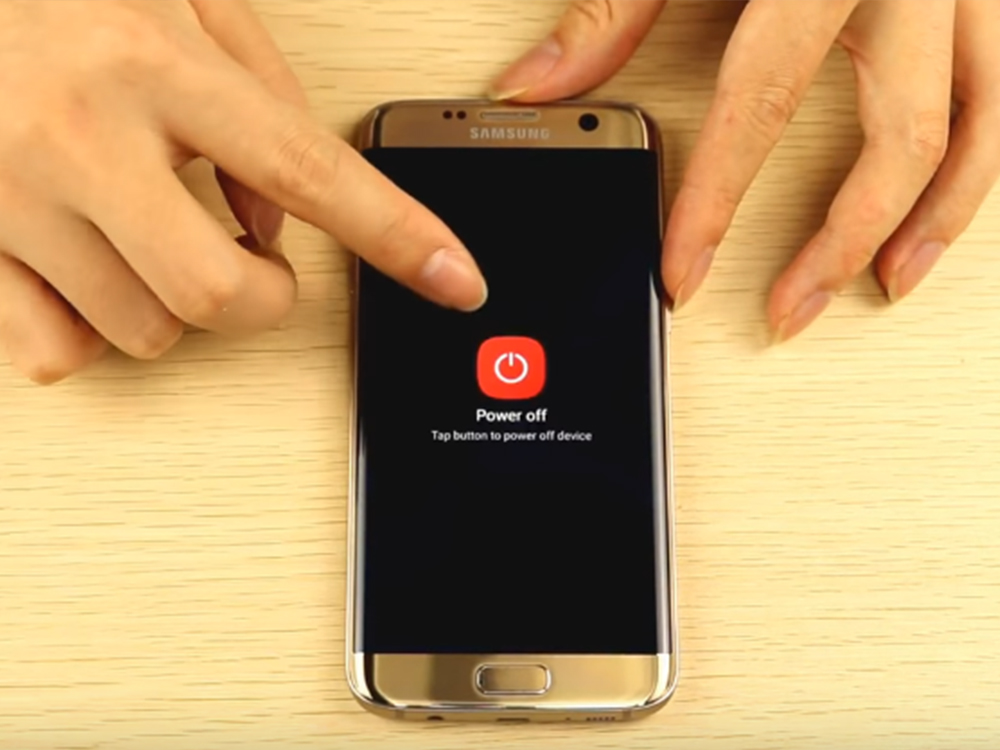
STEP 2: Turn OFF your device before installation to prevent water damage. Check to see that you have all the necessary included tools in your kit to install the screen protector (including screen protector, microfiber cloth, squeegee, installation spray, dust-absorber stickers, and wet/dry wipes). |
|
|
|
|
|
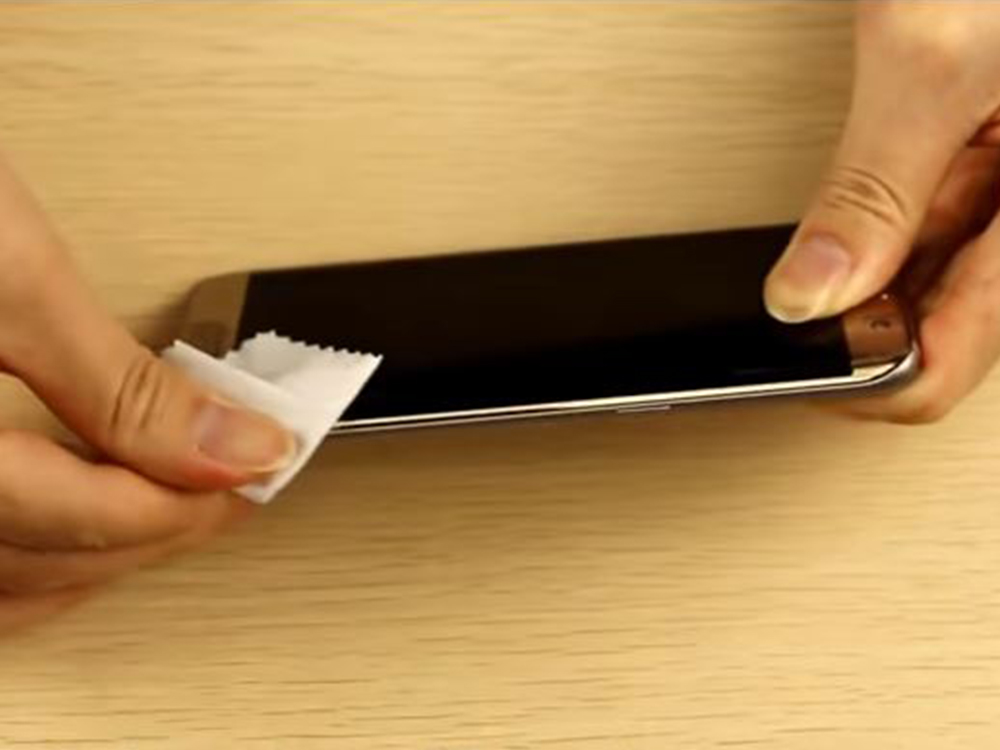
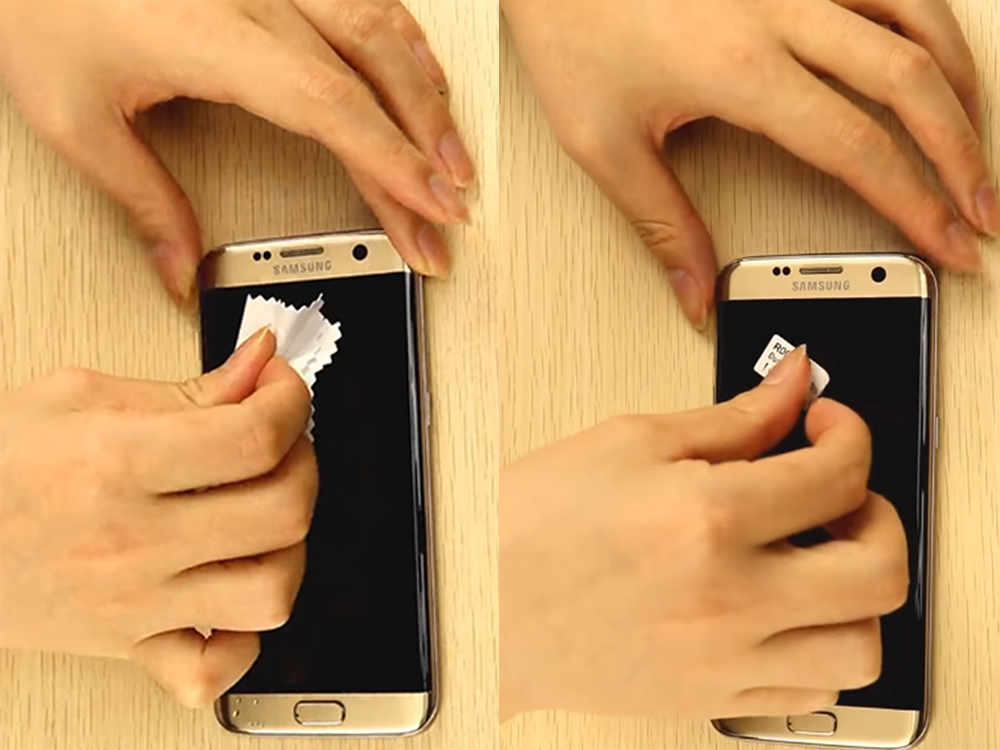
STEP 3: Use the wet wipe, followed by the dry wipe, to remove all fingerprints, excess residue, and oils before applying the screen protector. Use the dust-absorber stickers to catch any remaining dust that may still be lingering on the screen. |

|
|
STEP 4: Shake the bottle and spray your finger tips on both hands. Peel off the protective layer (with tab) and discard it. Spray the screen protector on both sides until it is completely wet. HELPFUL TIPS: |
|
|
|
|
|
STEP 5: Sequentially, place the screen protector on the phone screen. Be sure to centralize the screen protector and align all holes and cutouts. HELPFUL TIPS: |
|
|
|
|
|
STEP 6: While holding the screen protector in place, use the squeegee to push out and remaining water or air bubbles. This will speed up the drying time and prevent peeling. Squeeze from the center of the screen out to the edge using caution not to apply excessive pressure. |


|
|
STEP 7: After 20-30 minutes, gently push the edges of the screen protector down completely. HELPFUL TIPS: |
|
|
|
|
|
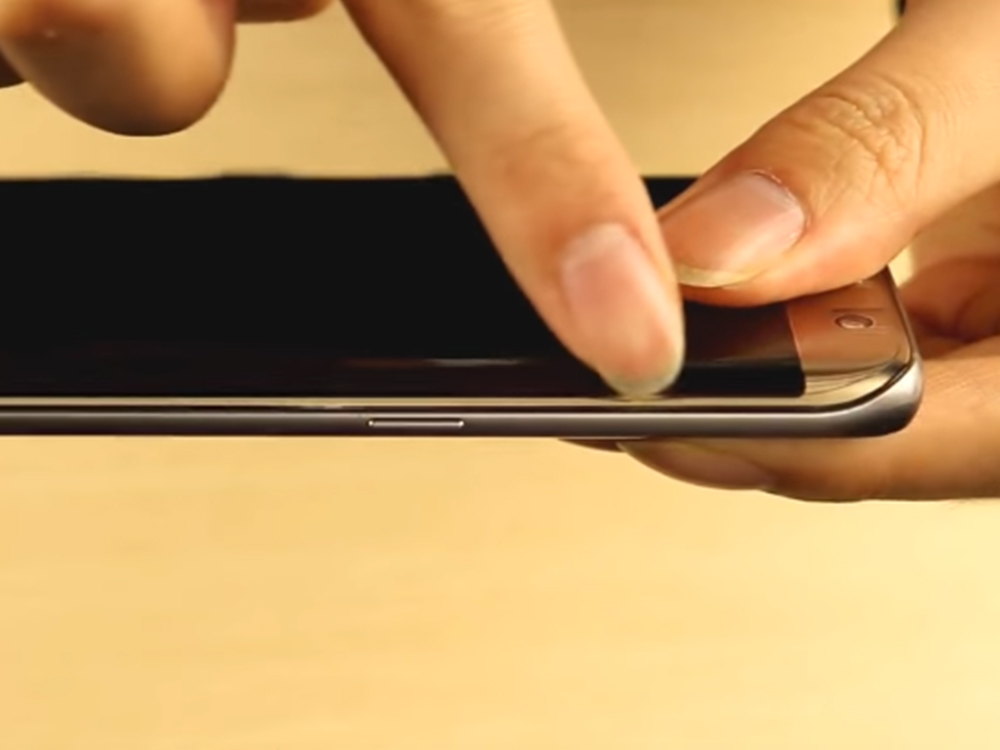
STEP 8: Ensure that the curved edges of the screen are aligned with the screen protector (Note: Edges of the screen protector may not adhere to the curved screen at this point due to being wet).
HELPFUL TIPS: |
|
|
|
|
|
STEP 9: Leave the phone on a clean surface for 6-8 hours (highly recommended to leave it overnight) to dry completely. Any remaining bubbles or water stains will disappear after 8 hours of drying. |
|
Installation Complete!
|
|